Hosting my page on Github
the workshop starts here
Get a github account
Go to https://github.com/ and create an account.
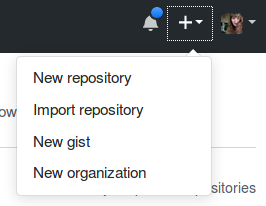
Make a new repository
When logged in, create a new repository named myfirstwebmap

Give your repository a nice description. Like:
My First Web Map in Leaflet.js
Setting: Public
Initialize this repository with a README.md
Create Repository
Now you have your own repository!
Upload files
. Upload all the files you need for your web map. Choose one project at a time because 1 repository is one web page.
- index.html
- main.css
- data.geojson
Hosting with GitHub-Pages
GitHub has this awesome trick! If we put a index.html file in our repository and change some settings: GitHub will host our website!
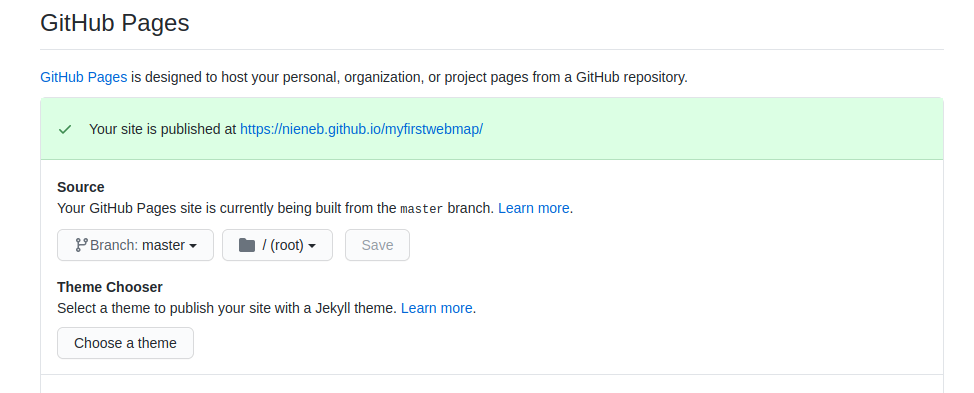
Click on the Settings tab and scroll down to the GitHub Pages section.
Then select the master branch source. Leave the rest of the settings as is. Click on the Save button.

Fire up a browser and go to http://username.github.io/repository. Change the user-name in the link to your own GitHub user name and the repository to your repository name!
Read more about it here: https://pages.github.com/
Edit the README.md
The README contains the text that is shown at the bottom of your repository. This usually contains a small explanation of what the repository is about and links to useful other sources. Let’s edit our README.md in the browser to customize it!
Click on the README.md file and edit it by clicking the edit button.
In the README.md put the following:
~~~
# My First Web Map in Leaflet.js

This repository contains the scripts and data for my first interactive web map.

You can view my map <[HERE](http://username.github.io/repository)>
~~~
Change the user-name in the link to your own GitHub user name and the repository to your repository name!
Commit changes.
Send the link to all your family and friends!
An example of how your repository should look can be found here: https://github.com/NieneB/myfirstwebmap
And the end result is: https://nieneb.github.io/myfirstwebmap/
You reached the end of this workshop!


